
How to Re-Amend Your Soil
Most growers love the idea of re-using their soil, but it can be a bit daunting for a variety of reasons. In this blog post, I'm going to review what the advantages and disadvantages are, as well as lay out a simple plan you can follow.
Advantages:
The advantages of re-using your soil are numerous. You have a lower cost of production by not having to purchase new soil. It costs a fraction of what new potting soil costs to re-use soil. You also have a lower environmental impact, less labor, and better soil ecology over time leading to healthier plants. Also, the labor of moving soil in and out of a facility or location is a ton of work.
Disadvantages:
There's a reason most commercial production facilities on the ornamental side don't re-use their media. The risk of pathogens or disease is much greater and can devastate a crop if not properly managed. Now I would argue that much of this can be mitigated through good IPM strategies and controls, but I think it's important people are aware of the downsides.
Now if you've gotten through the first section and are still interested in re-using your soil, then I've got some pointers below:
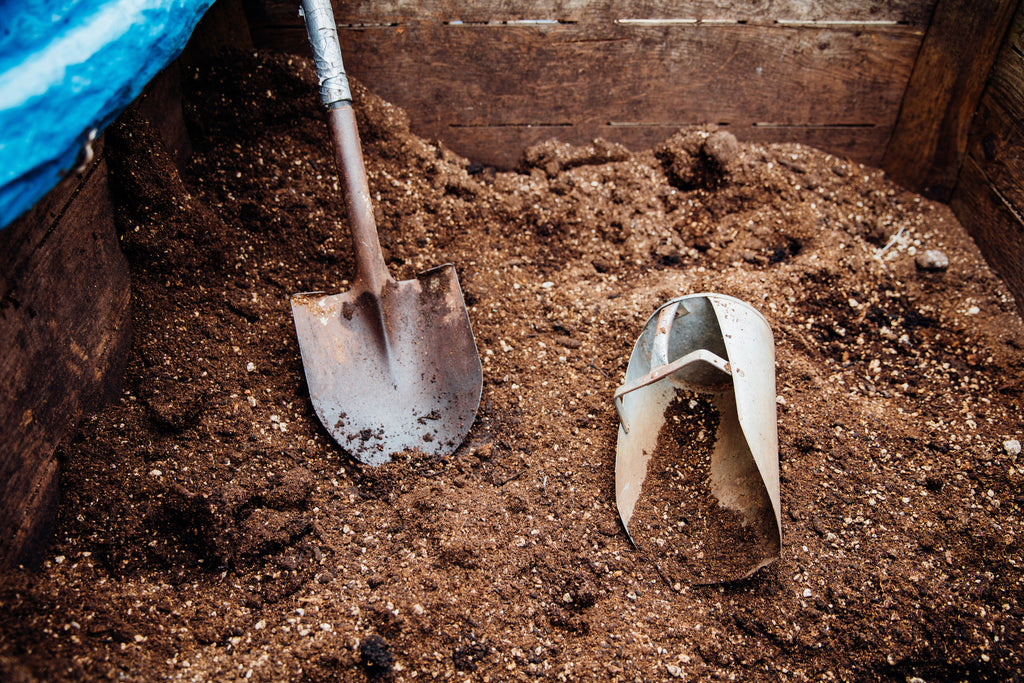
Soil Testing:
The best option is to get a soil test so you can determine what nutrients are present so you can add only what the soil needs and prevent excesses or deficiencies. For re-amending soil, we use the standard soil test from Logan Labs. It's a Meilich III test and something that many labs offer. Once you choose a lab it's important to stay with them when comparing results. These tests aren't that expensive ($25-30) and give you a ballpark idea of where you soil is at. Don't get worried if the numbers aren't perfect, but it will allow you to make small adjustments to improve your soil.
If you're growing with synthetic bottled nutrients (mineral salts):
The advantages of mineral salts is that the nutrients are in a form the plant can immediately uptake. I've seen some beautiful plants grown using light doses of these fertilizers, however it can become a bit trickier when you want to re-use the soil. Over time you can get salt buildup which requires "flushing" the soil to remove the nutrients, which uses a lot of water, leaches into our groundwater, and requires you to test and re-amend the soil at higher than normal rates. These soils can be re-used but it does require quite a bit more work to do so, and typically the media used is of lower quality.
If you're growing with organic bottled nutrients:
This is where a soil test is key. You'll want to make sure you're not getting buildups of any particular macro nutrient. Typically we see too much phosphorus and sometimes magnesium. Most bottled nutrients are not truly balanced and while they will allow you to grow a decent plant and yield, there's plenty of room for improvement.
If you're growing with "no till" or "water only" or just amending the soil with various "meals" or soil amendments:
Some growers will just add whatever they have on hand or follow a recipe without ever testing. Typically the process involves cutting the plant at the base of the stalk and then topdressing with more nutrients and compost each cycle.
If you're growing in containers:
Keep in mind that with a "Water Only" style grow, you're putting the nutrients directly into the soil/media and so you do end up needing to grow in a larger container than if you were using mineral salts or bottled nutrients. This means you need to let go of the large plant in tiny container mentality that you commonly see with salt-based growers. It just doesn't work. We typically recommend a minimum of a 7 gallon container for a full cycle plant, but optimally you would be in a 15 gallon or larger. Beds are really our favorite for numerous reasons.
If you're growing in beds:
This is our favorite way to grow crops. By having a greater amount of soil per plant you're allowing for better access to nutrients and water, root space won't be a limiting factor, and plants can work symbiotically in the same soil as there's research showing how plants can interact in the rhizosphere.
If you're using the KIS Soil and KIS Nutrient Packs:
The goal with our soils and nutrients was to simplify the process for growers without sacrificing quality. We start with a high initial nutrient charge when we mix the soil for the first time. After that, a small addition of organic matter (compost or earthworm castings) and our Nutrient Pack is enough to get you through a full cycle.
There’s a couple of ways to approach it. In a container (5-15 gallon), you may want to add only a portion of the total amount to the soil at the beginning of the cycle and then top dress with the nutrients a few times during flowering. If the plant has access to less soil, then you’ll need to provide it with more nutrients than you would in a raised bed or in-ground.
You can read The Economics of Water Only Soils to get a better idea on cost with a program like ours and also the Advanced Nutrient Schedule for KIS Soils.
Overall though, it’s as simple as just harvesting your plant and then adding a small amount of the KIS Nutrient Pack and a bit of compost and then starting your next cycle 24-36 hours later. After about 5 cycles, I do recommend a soil test so we can see how the particular cultivars and your environment are effecting the nutrient uptake. For instance, we may see an accumulation of Ca over time, where we would want to customize the Nutrient Pack based off your soil test.
Conclusion
At the end of the day, re-using soil remains a viable option no matter what your scale and environment. I always treat my soil like it’s alive and has a plant in it. When I garden, I do so with the soil in mind because I know if I have healthy soil then the plant will grow stronger and yield better.
If you have specific questions regarding re-using soil, please don’t hesitate to reach out!