
7 Important Things When Building a Living Soil
There are many recipes out there for mixing your own potting soil. I've tried a bunch over the years, including most of the commercially produced soils on the market like Ocean Forest or Pro Mix. I'm convinced that with a little bit of work, you can produce your own soil using many local products and not only save money but make a much better soil for your plants.
Let me give a little history on our soils and how I started the process of learning about mixing soils. It started back in 2005 when I met a man in Portland who goes by the online handle of "Clackamas Coot" and "Lumperdawgz" on various growing forums. He came to a talk I was giving on compost teas, and I soon discovered he was a wealth of information. After numerous emails and long phone conversations, he gave me the basics for making soil, for which I'm eternally grateful. I spent 2 years testing and refining our soil mix and Nutrient Pack for local growers through trials at the local horticulture college, direct microscopy, and soil tests. I hope some of that knowledge and experience can be shared here to save you time!
1. It starts with a good base mix. My preference is approximately 50% sphagnum peat moss, 33% aeration (we use 1/3 large and 2/3 medium pumice in our soils), and 17% high quality compost and/or earthworm castings. Many people will go with 1/3 peat, 1/3 aeration, and 1/3 compost. I chose to adjust this based on research showing around 20% to be the optimal amount of earthworm castings on potting mix. You can also use coco coir or other substrates instead of peat moss but see my article on peat vs coco for why peat is my hands down choice.
2. The next thing to consider is your major nutrients (nitrogen, phosphorus, potassium, calcium, magnesium, and sulfur). These are all vital for plant growth so you'll want to add amendments that provide these in both fast release and slow release forms. I like to use volume as my form of measurement over weight and a good rule of thumb is to add approximately 1/4-1 cup per cubic foot of soil of any given amendment to be safe. You can look at the N-P-K on an amendment to see what % of each macro-nutrient it contains. For example, organic fish meal is a fast release nitrogen source and is typically around 10% nitrogen and 4% phosphorus. This will give a plant a good start in root development and vegetative growth ealy in the plants life. However, you'll also want some slower release nitrogen sources like crustacean meal or feather meal so the plant can receive nutrients throughout its life cycle.
3. Trace minerals and micro-nutrients are important! This is where most commercially produced soils are lacking in my opinion. I like to add kelp meal (70 elements, plant growth hormones and regulators, etc..), rock dusts, and good earthworm castings to ensure the plant will get everything it needs to be both healthy and nutrient dense.
4. Calcium and magnesium are important to have and in the proper ratios. Most soils are deficient in calcium. Earthworm castings help provide calcium but you'll want to add lime, gypsum, soft rock phosphate, or oyster shell flour to increase your calcium to around 70% of your CEC (cation exchange capacity) and magnesium around 10%. Together they shouldn't exceed 80% of your CEC. Now you may be wondering what CEC is. Without getting to technical, think of CEC as a giant sponge that contains all the nutrients the soil is able to hold. The higher the CEC, the more nutrients the soil can hold and the more nutrients you'll need to add to "fill" the sponge. A CEC around 25-35 is ideal for what we are trying to accomplish. Don't worry about this calculation, a $25 standard soil test from Logan Labs will give you this information and help you to adjust your recipe as needed.
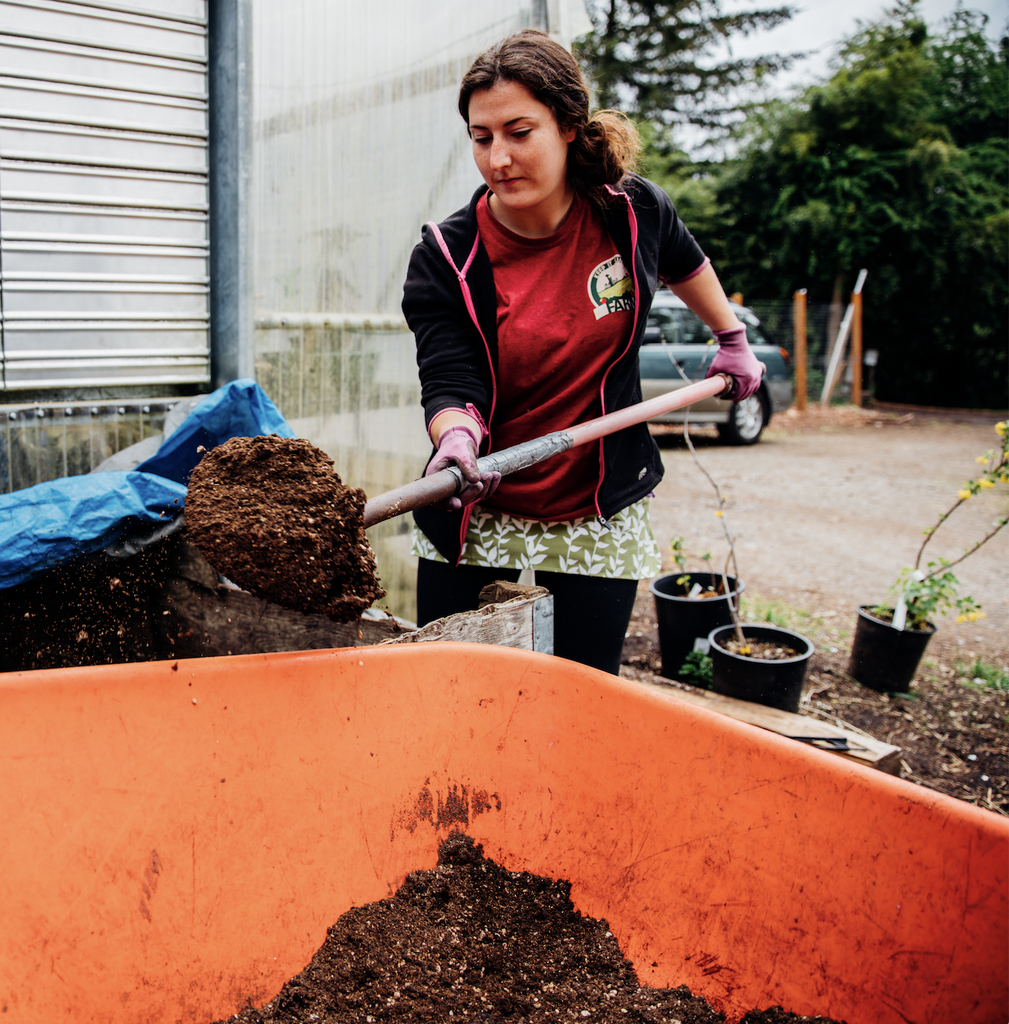
5. One of the most important aspects is biological diversity and biomass in your soil mix. This is what creates nutrient cycling and makes all these great ingredients actually available to the plant. Ideally you would make your own compost in a worm bin or static compost pile, but this takes time and is not something practical in all situations. If you are having to buy compost or worm castings, look for companies that have done biological testing on their product and are willing to share it. At the very least, don't buy cheap municipal compost or something that's been sitting on a shelf for a long time or baking in the hot sun in a parking lot and expect it to have good healthy microbes. Aerated compost teas are another excellent way to increase the microbial activity in your soil if you're worried about the quality of your compost.
There are many free recipes out there. This one from Clackamas Coot is a good starting point for many people. Don't get caught up in having the exact ingredients, as you can substitute for things you can find locally. Have fun experimenting and seeing how your plants respond!
For a detailed guide on the actual mixing process, you can follow the steps found here.
Clackamas Coot's Recipe
1/3 Sphagnum Peat Moss
1/3 Aeration (pumice, perlite, lava rock, etc..)
1/3 Compost + Earthworm Castings
To each 1 c.f. of this mix I add the following:
1/2 cup organic Neem meal
1/2 cup organic Kelp meal
1/2 cup Crab meal or Crustacean meal
4 cups of Mineral Mix aka rock dust
Mineral Mix Recipe
1x – Glacial Rock Dust
1x – Gypsum
1x – Oyster Shell Flour or Agricultural Lime
1x – Basalt
6. Plan on re-using your soil. Your living soil will improve over time as the microbes cycle nutrients and build soil structure. It's important to remember that each time you harvest a plant, you're removing nutrients and organic matter from the soil. Those will need to be replaced each cycle. You can use our Nutrient Pack or come up with your own re-amendment recipe. In addition, I suggest adding approximately 1 cubic foot of high quality compost or earthworm castings per yard of used soil to get that organic matter back in the soil. Also, plan on adding aeration back in at whatever level is necessary to maintain your porosity and drainage. We find that approximately 1 cubic ft per yard, every other cycle, works well in most cases.
7. Let your soil sit. It's best if you can let your soil cook for at least 2 weeks, but up to a month is optimal. This allows the microbes to begin breaking down these amendments and cycling them into plant-available forms. It also prevents any burning from the soil being "too hot." Be sure to maintain proper moisture content during this time. The easiest way to determine this is if you grab a clump of soil and squeeze it in your hand, it should almost stay together but break into a few smaller chunks and feel like almost a drop of water can be squeezed out of it.
Now if this is more work than you're able to do yourself or you want to go with a lab tested and professionally mixed soil, you can check out our Veggie Mix, Water Only, and Biochar Soil Mix.